Staff/Client/Payer Management Overview
Setting up Payers
- From the navigation menu click the
icon.
- There are 2 ways you can add a new payer. After clicking the
icon you can select Add New or you can select the payer list and click the
icon at the bottom right of your screen.
- After entering the Payer's name select the Payer Type (Insurance/Regional Center/School/Other) and add the payer's basic information.
- Once completed you will land on the Payer's profile.
- Select Services from the top.
- Select the Add icon on the bottom right corner to add a new service. These services are taken from the Settings > Services that you set up previously. If you do not see a service that you need, you must go back to the Settings section to add it in.
- Use the chart below to help you complete this section.
- Click Save. Repeat steps 5-8 until you have added all your services for this payer.
Field Name Description Charge RateThe rate that you have set as a provider as a charge per unit. This does not have to be the same as the contract rate; many organizations charge a higher rate than their contract states. Make sure the rate matches the unit.Contract RateThe rate for the service provided in your fee schedule from the payer.Unit Size Unit of measure (15 Min/30 Min/Appointment/Day/Flat) Rounding How would you like to round for fractional units?
AMA/Up/Down/Nearest/Not Allowed
AMA (American Medical Association) - Round up if unit is > 50%, otherwise round down (this rule is also known as the 8 minute rule).Required Credential The minimum credential requirement before services can be provided. Credentials are pulled from Staff Qualifications. Only select the minimum. For example, if a BCaBA or a BCBA can perform a service, select BCaBA.DX Code Select your diagnosis code from the drop down list. Autism is F84.0. This can be overridden for specific clients.Billing Code Select your billing code from the drop down list. Add Modifier Select your modifier from the drop down list. - Default Modifier
The Default modifier should be selected if you want to pull the modifier every time. For different educational modifiers (e.g., HO, HN, HM), select "highest credential" to pull the modifier based on the qualifications in the staff profile.
Billing Rules
Setting up Staff
- From the navigation menu click the
icon.
- There are 2 ways you can add a staff. Either select Add new from the navigation menu or from the staff list click the
button at the bottom right of the screen.
- Fill in the staff's basic information and click Save.
Profile
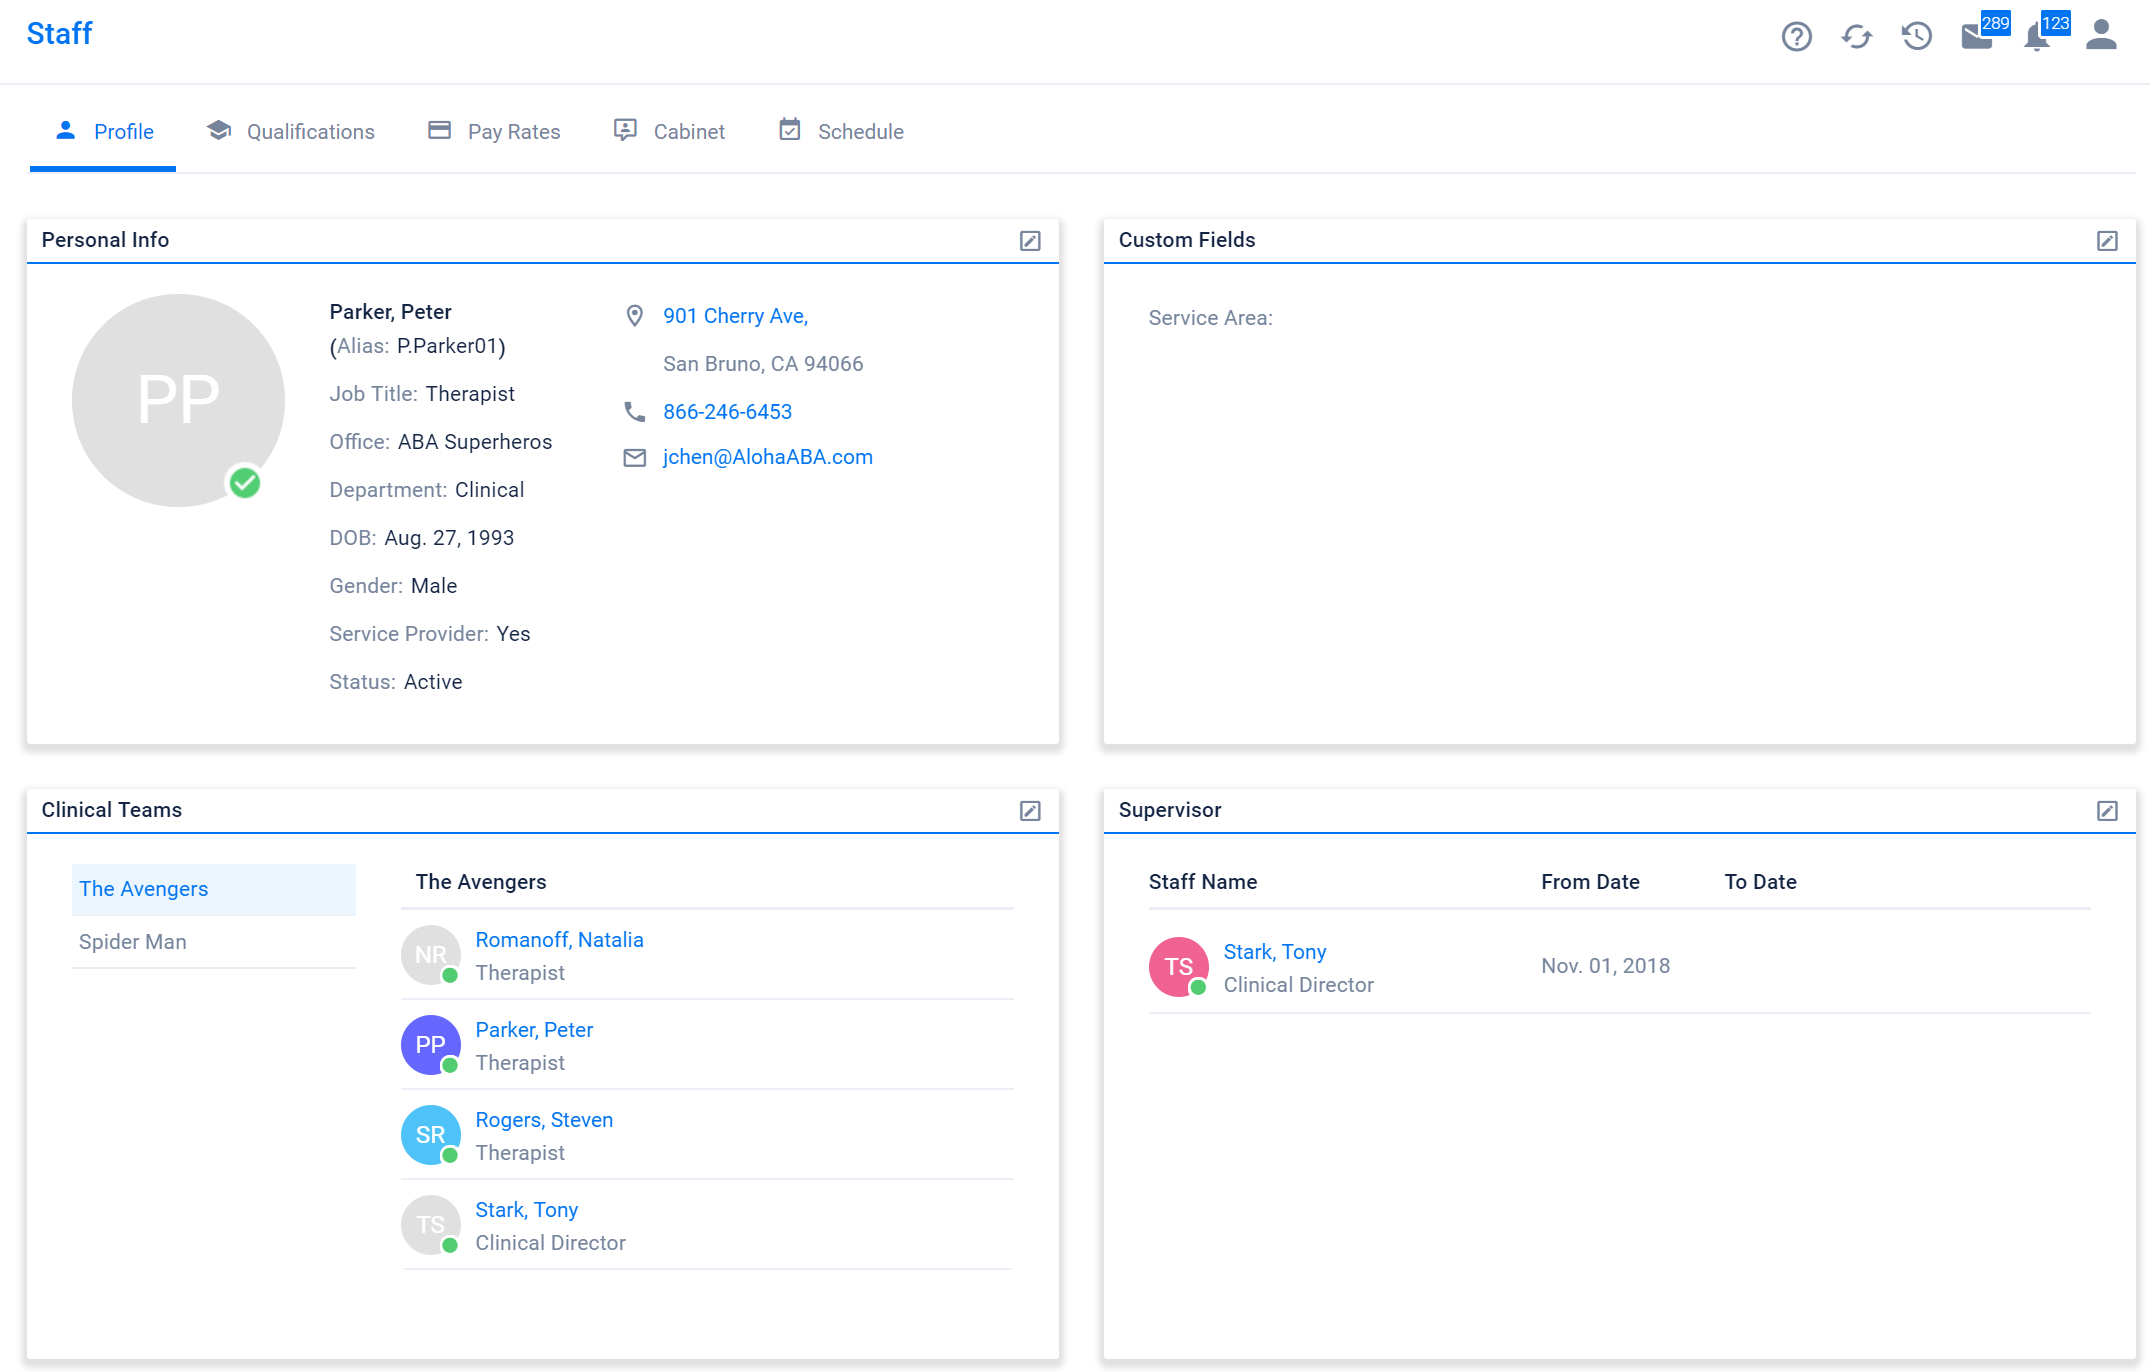 Personal Info
Custom Fields
Clinical Teams
1. Select Staff> Manage Clinical Team
2. On the left column are all created clinical teams. To add a new clinical team, select the
button to the right of Clinical Teams.
3. Name your Clinical Team and click on the blue check to save
 You can create a clinical team for all staff, all clients, break up staff/clients by region, etc.
4. Add your staff/clients to the team in the “Add Staff/Client” section
5. Click Save
Supervisor
- Select
on the top right of the card.
- Check to make sure the Status is Active.
- Select the Staff Name from the drop down.
- A From date is required to indicate when this person began supervising the staff.
- Click Save.
Qualifications
- Click the
button on the bottom right had corner.
- Select the qualification from the drop down list. New qualifications can be added under Settings > Qualifications
- Fill in the general qualification information.
- Click Save.
Pay Rates
Adding a Hourly Pay Rate
- Click the
icon on the bottom right hand corner.
- Click the
icon on the top right of the window.
- Select an Earning Code from the drop down list.
- The From Date is required, and the To Date is not required. A To Date should only be used if you are planning to change your employee's pay on a planned date (e.g., they receive a rate increase after 90 days of employment). If you do not have a new rate starting for them, leave the To Date blank.
- Enter the hourly Rate.
- Repeat this process for different rates (e.g., PTO, Non-billable, Admin, Sick).
- Click Save.
Adding Salary Pay Rate
- Click the drop down on the top left hand corner, and select Salary Exempt.
- Click the Add icon in the bottom right hand corner.
- Repeat steps 3-5 from above and enter the Monthly Salary Rate. Make sure to check off all rates the staff member is qualified for (e.g., Admin time, PTO).
- Click Save.
Adding Provider Identifiers (NPI/Tricare/Medicaid/Referring Provider)
Adding Provider Identifiers
- From the left navigation menu click the Billing icon and select Provider Identifier.
- On this screen you will notice General, Tricare ID, Medicaid ID, BHPN, and Referring Provider tabs along the top.
- Select which tab you would like to add an ID for.
- Clear the filters.
- Use the search at the top to locate the staff then add their identifier on the right.
Adding Referring Providers
- Add a Referring Provider by going to Billing → Provider Identifier → Referring Provider tab, then click the “+” button, enter the provider’s information, and save.
- To assign one, go to the Client Profile → Authorization, select the authorization, and click the edit (pencil) icon. Choose the Referring Provider from the dropdown menu and save your changes.
- The assigned Referring Provider will appear in the last column of the Billing Manager. It will also automatically populate Box 17 on the CMS-1500 form.
Setting up Clients
- From the navigation menu click the
icon.
- From here there are 2 ways to add a new Client. The first way is to select Add New from the navigation menu. The 2nd is to click Client List and hit the
button on the bottom right of your screen.
- The Add Client window will appear. Complete this section with your client's general information.
- Click Save.
Profile
Personal Info
Custom Fields
Contacts
- For new clients you will notice an Add Contact in the middle of the card and for clients who already have contacts, you can click the
on the top right of the card.
- Complete the Contacts general information
- Responsible Party - Generally this is the person who is responsible for the bill (only 1 contact can be marked as the Responsible Party at a time).
- Client Portal - Allow this contact to access Client Portal to view their schedule and more. See Client Portal


The Place of Service (POS) is a code used by insurance companies to identify where a service was performed. Common examples include:
- 11 – Office
- 12 – Home
- 03 – School
- 10 – Telehealth Provided in Patient's Home
The Place of Service is different from the Appointment Location, which is simply the physical address where services are provided.
In AlohaABA, you can map a client's addresses to a corresponding Place of Service code to help ensure claims are billed accurately. These settings can be configured within each client contact.
- Default Appointment Location and POS: Select this option to automatically populate both the Appointment Location and Place of Service whenever a new appointment is created for the client. Choose the POS that corresponds to the selected address (for example, 12 – Home for a parent's residence or 03 – School for a school location).
- Exclude Address from Appointment Location: Enable this option if services are never performed at this address. The address will no longer appear as an available Appointment Location when scheduling sessions.
- Map to POS to appointment Location: Select this option if the client receives services at multiple locations. When an address is manually selected during appointment scheduling, AlohaABA will automatically populate the corresponding Place of Service on the appointment's billing information. This helps reduce manual entry and ensures the appropriate POS is used based on the selected service location.
Client Assignments
- For new clients you can click the Manage Client Assignments link in the middle of the card. For existing clients who already have staff/teams assigned you can click on the
button on the top right of the card.
- Enter the staff/team's name in the Add Staff / Team and select from the drop down.
- Depending on whether you add an individual staff or team, will determine where it will be placed within the Assigned Staff or Assigned teams section.
- Click Save.
Authorizations
- Click the Add button on the bottom right.
- Use the drop down and select the Payer.
- Fill out the client's insurance information. Make sure to check the name on the card and note whether the insurance is in the name of the client or their parent.
- Click Save.

- Find the Payer's card and select Add Authorization the
icon on the top right of the card.
- Enter the client's authorization information here.
- In this section you can enter the authorization as it appears on your contract or you can customize the hours that can be provided during a certain period. The limit section allows you to customize the authorization to fit your organization. If the hours are given in bulk for the entire authorization (e.g., they aren't "use it or lose it"), it is recommended to enter the authorization as units per authorization
- Examples: (Allowed Limits / Select Type / Per)
- 40 Hours per Week
- 20 appointments per month
- 30 dollars per day
- When you enter the first service, use this opportunity to set default rendering provider, place of service and service facilities when you can (e.g., the BCBA who is always the rendering provider). These along with the authorization dates will copy down to each service that you add. This will save you time when entering schedules.
- If services are pulling from the same bucket of units (e,g., Direct Service- RBT and Direct Service- BCBA), you can put them on the same line. If they are pulling from different buckets (e.g., 100 units of Parent Training and 300 units of Supervision), make sure to use the
button in the top right corner of the authorization to add additional services. Note: You should only be entering each authorization number one time, not once for each service.
- Click Save.
FAQ Client Profiles and Authorizations
Cabinet
Adding a new Post
Delete, edit or hide a Post
Activity/History Tracking
Related Articles
FAQ: Client Profiles and Authorizations
These frequently asked questions will help provide guidance as you troubleshoot through the client profile and authorization section of Aloha. Who is the responsible party? The responsible party is the person who can receive all medical and ...FAQ: Scheduling
These frequently asked questions will help provide guidance as you troubleshoot through the scheduling section of Aloha. What does “Substitute” checkbox in Appointments do? This is used when an employee covers a client that they are not assigned to. ...FAQ: Staff Profiles and User Accounts
These frequently asked questions will help provide guidance as you troubleshoot through the staff profile and user permissions section of Aloha. My employee hasn't received an email to create a login, but I created them a staff profile. How do I ...Correction after Billing the Wrong Payer
Eligibility can be confusing. It is recommended to complete eligibility checks through your payer or clearinghouse often. Sometimes medical and behavioral benefits are different so it is important to ensure that you are billing the correct payer and ...FAQ: Payer Profiles and Services
These frequently asked questions will help provide guidance as you troubleshoot through the Payer section of Aloha. What is the difference between a charge rate and a contract rate? What should I be charging? Within your profile set-up there are two ...